
Installation Tips
This page will show you in details how to install and use our Zeus CCTV
Floodlight cameras in you home. If you have any questions or come across any problems
and need to talk to one of our technicians, please call our office between 9:00 am and 5:30 pm,
Monday thru Friday, Eastern. We are waiting to assist you.
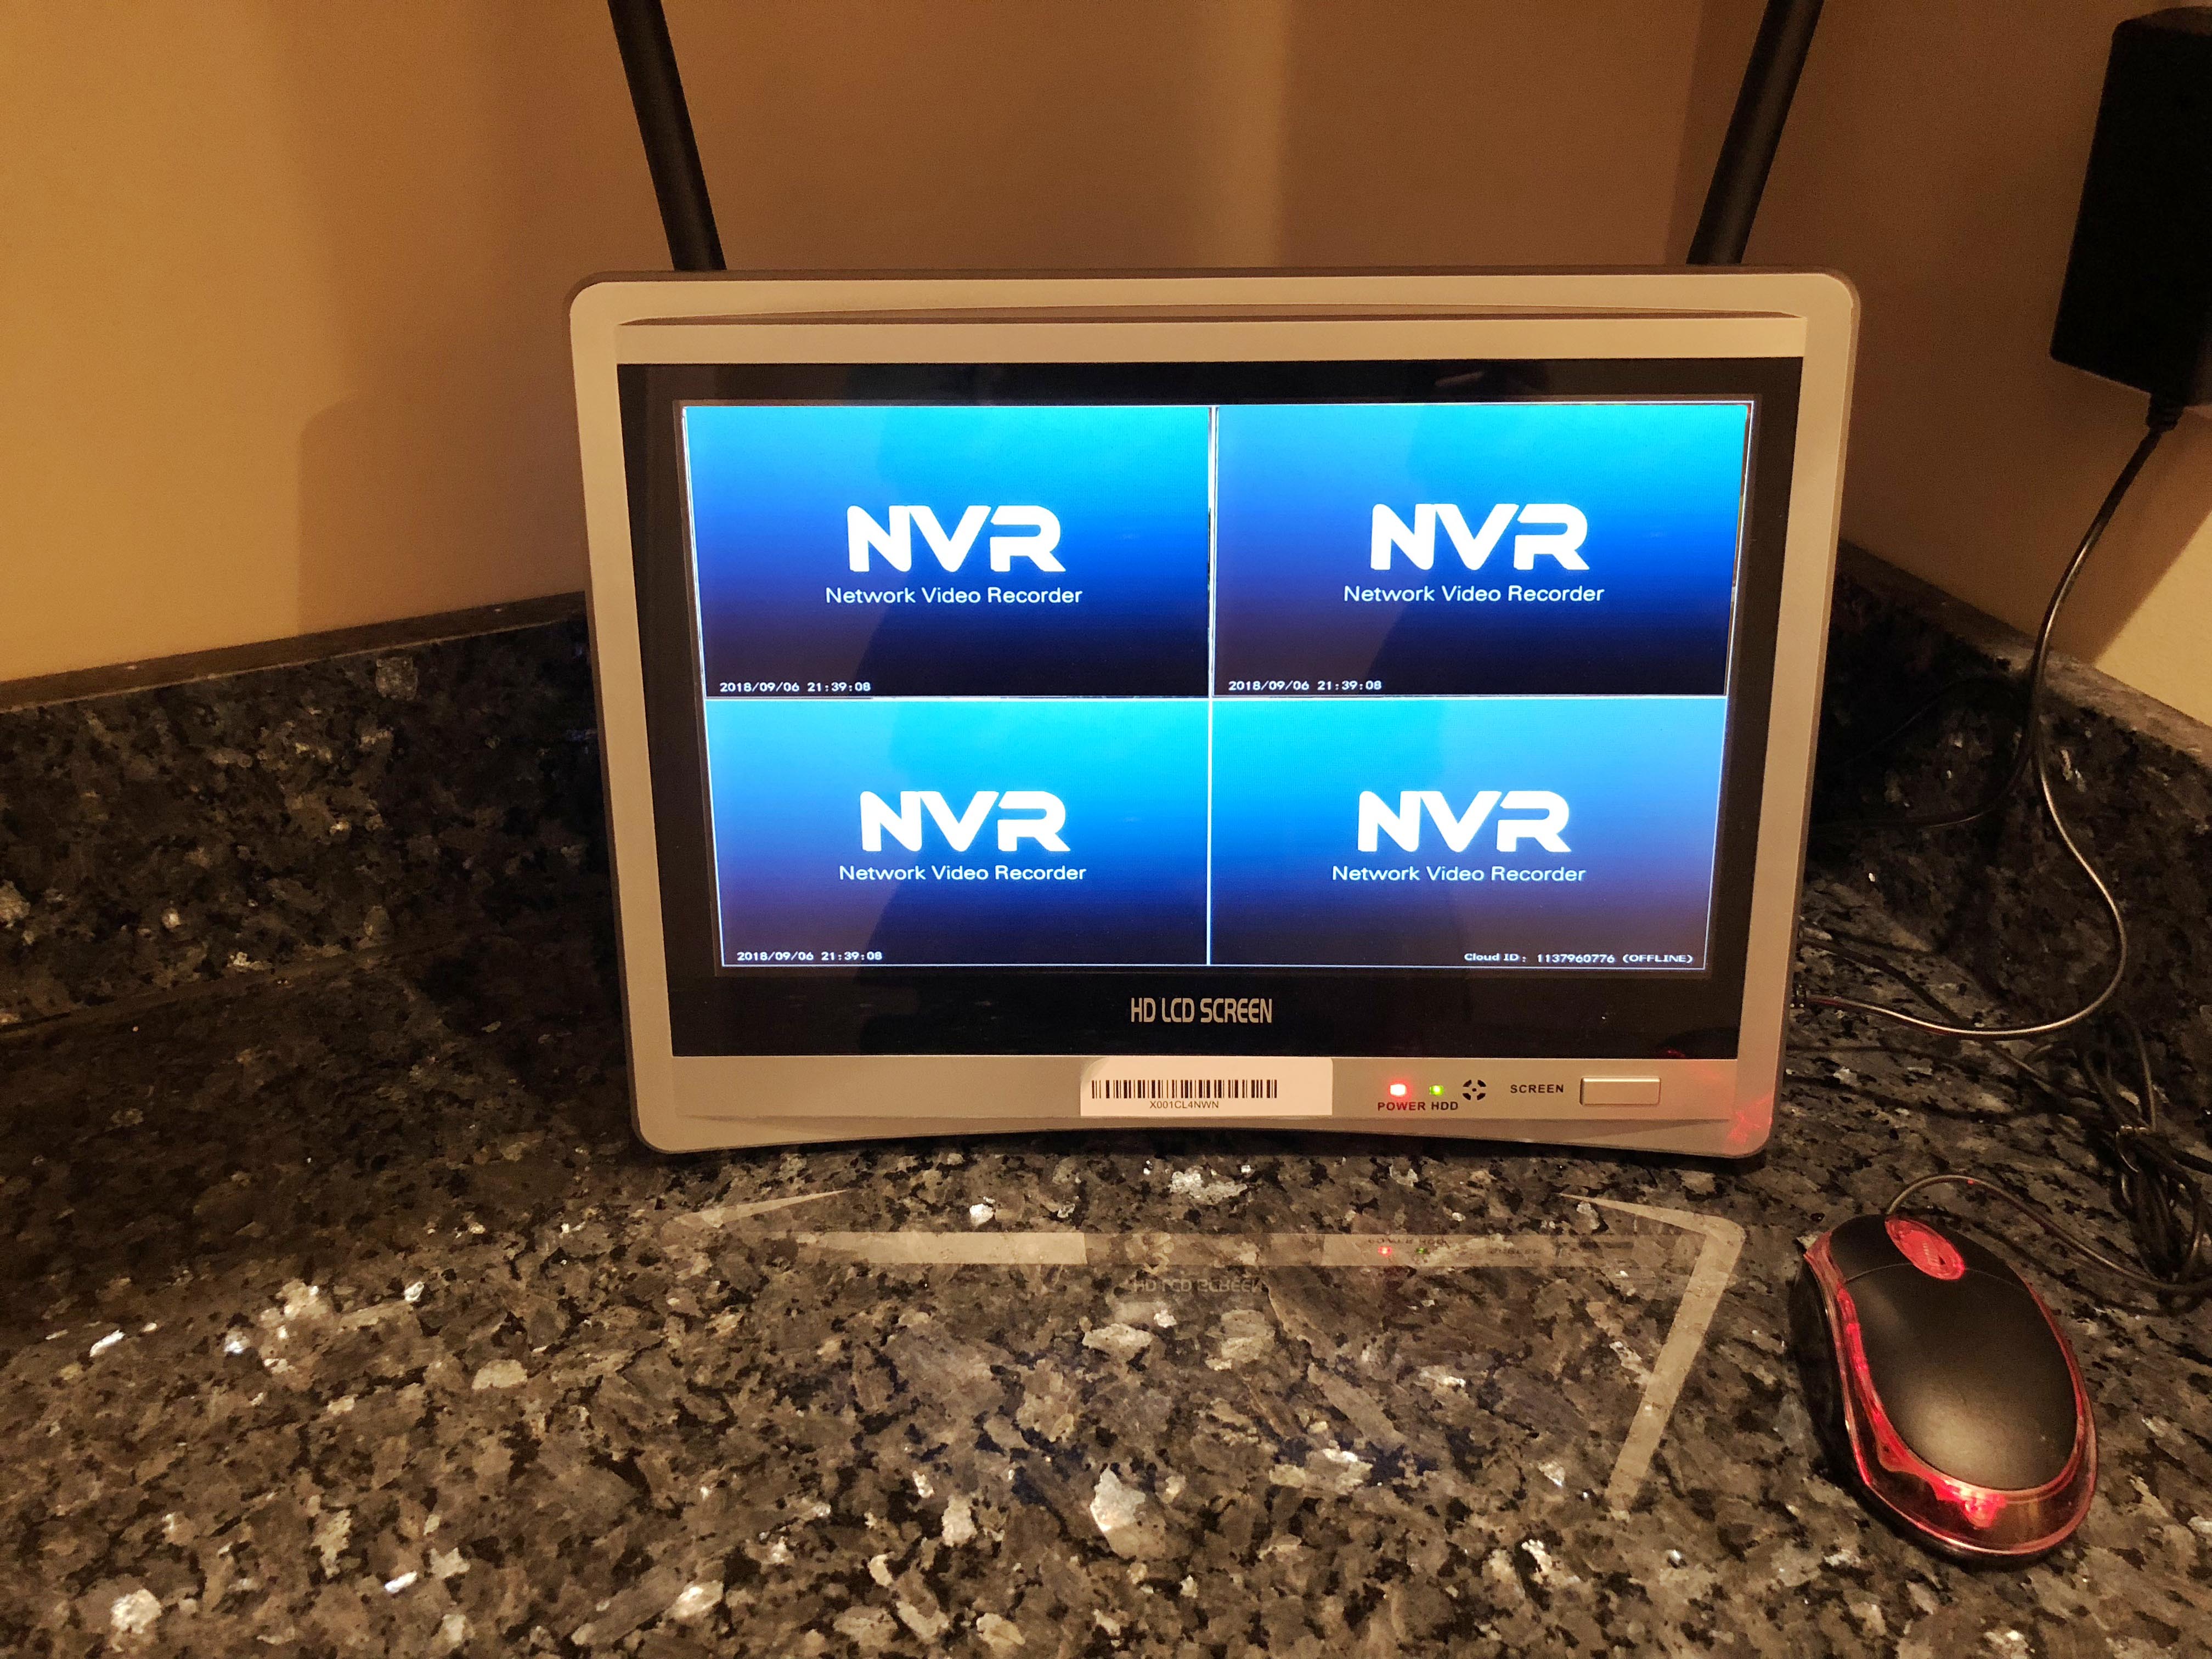
Part One: Unbox and Set up your NVR System.
Your NVR System will come with:
1x NVR/Screen
1x Mouse
1x Ethernet Cable
1x Power Adapter
1. Connect the Mouse, Ethernet cable (optional [plug in to view online])
and Power adapter to your NVR. Your NVR will start up automatically.
2. Once the NVR fully boots up, a set up menu will pop up on the screen.
Carefully read through the configurations.
Page 1: QR Code for the IP PRO App and NVR Cloud ID,
Page 2: Time and Date,
Page 3: Network Setup,
Page 4: HDD Setup.
3. Once your cameras are connected, Right-click the screen > Video Playback,
to view the previously recorded videos. Video Playback will open with the current
day.
You can change the date and time to view different days recorded. Default
record mode is “All Day” recording. To change to Motion Detection recording,
right-click the screen > go to “System Setup” > Record setup (at the top) >
click “Reset” > click “Motion” > on the Grid below; click, hold and drag your
cursor across the entire screen to highlight > click “Copy To” > All Channels > click “Apply”.
Floodlight cameras in you home. If you have any questions or come across any problems
and need to talk to one of our technicians, please call our office between 9:00 am and 5:30 pm,
Monday thru Friday, Eastern. We are waiting to assist you.
Part One: Unbox and Set up your NVR System.
Your NVR System will come with:
1x NVR/Screen
1x Mouse
1x Ethernet Cable
1x Power Adapter
1. Connect the Mouse, Ethernet cable (optional [plug in to view online])
and Power adapter to your NVR. Your NVR will start up automatically.
2. Once the NVR fully boots up, a set up menu will pop up on the screen.
Carefully read through the configurations.
Page 1: QR Code for the IP PRO App and NVR Cloud ID,
Page 2: Time and Date,
Page 3: Network Setup,
Page 4: HDD Setup.
3. Once your cameras are connected, Right-click the screen > Video Playback,
to view the previously recorded videos. Video Playback will open with the current
day.
You can change the date and time to view different days recorded. Default
record mode is “All Day” recording. To change to Motion Detection recording,
right-click the screen > go to “System Setup” > Record setup (at the top) >
click “Reset” > click “Motion” > on the Grid below; click, hold and drag your
cursor across the entire screen to highlight > click “Copy To” > All Channels > click “Apply”.